
To can food into jars, without a pressure canner, or a canning machine, all you need is a large stock pot, a wire rack, and some water. In this article we will go in depth on how to can fruit or vegetables from start to finish.
Canning is a traditional method of preserving food that has been used for centuries. It involves placing food into jars and heating it to a high temperature to destroy bacteria and enzymes that cause spoilage. The jars are then sealed to create a vacuum that prevents air from entering and allows the food to be stored for long periods of time. While modern canning machines make the process much easier, it is still possible to can goods without one. For instance, to can without a canning machine, follow these steps.
Step 1: Gather your supplies.
Before you start canning, it’s important to gather all the supplies you will need. You will need:
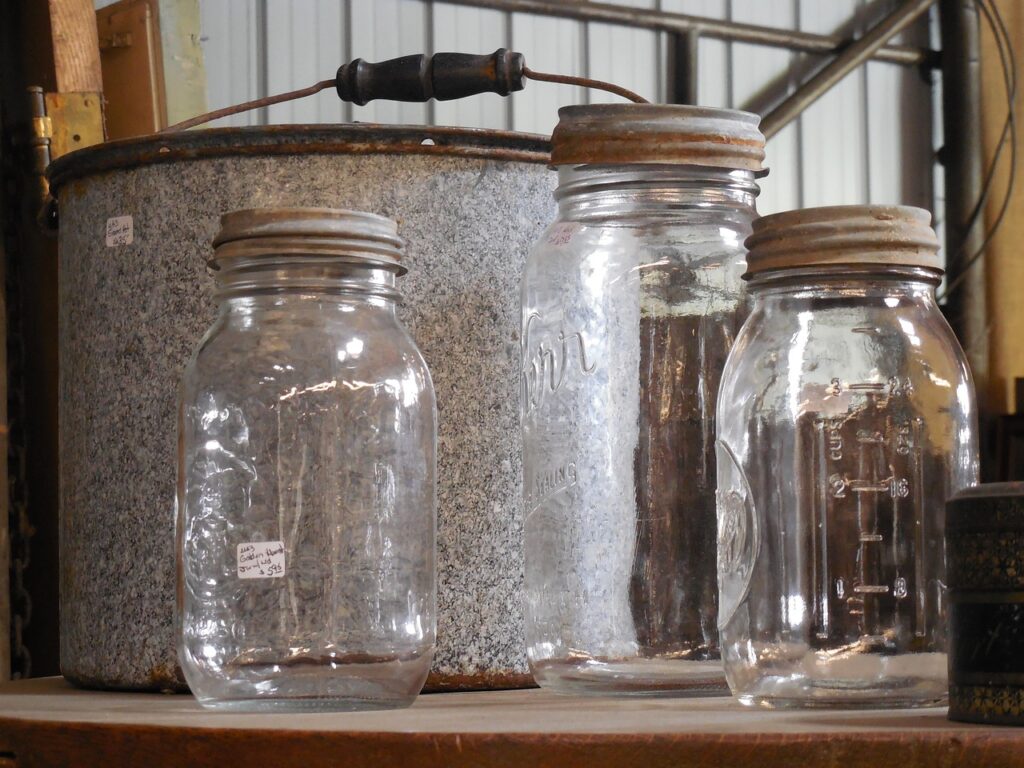
- Jars: Use canning jars that are specifically designed for canning, such as Mason jars. Make sure the jars are free of cracks, chips, or other defects.
- Lids and bands: Canning jars come with two-piece lids that consist of a flat metal lid and a screw band. The flat lid is used to create the vacuum seal, while the screw band helps to hold the lid in place.
- Canning pot: A large pot is needed to boil the jars and heat the food to the required temperature. You can use a large stockpot or a specially designed canning pot.
- Canning rack: A canning rack is used to keep the jars off the bottom of the pot and prevent them from cracking. You can purchase a canning rack or make one by tying jar bands together.
- Funnel: A funnel is used to help pour the food into the jars without making a mess.
- Tongs: Long-handled tongs are needed to remove the jars from the boiling water.
Step 2: Prepare the jars.
To prepare the jars, start by washing the jars and lids in warm soapy water, then rinse them well. You can also sterilize the jars by boiling them in the canning pot for 10 minutes. Clean jars are essential to prevent bacteria and microorganisms that may be present. Additionally, discard any glass jars that have cracks or chips, as they may shatter under the boiling water.
Step 3: Prepare the food.
Once the jars are prepared, it’s time to prepare the food. Choose a recipe that is suitable for canning and follow the instructions carefully. Some recipes may require cooking the food before it is placed in the jars, while others may require raw packing. Raw packing involves placing raw food directly into the jars and covering it with boiling water or syrup. For instance, tomato sauce is cooked before it is canned, but chicken can be cubed and canned raw.
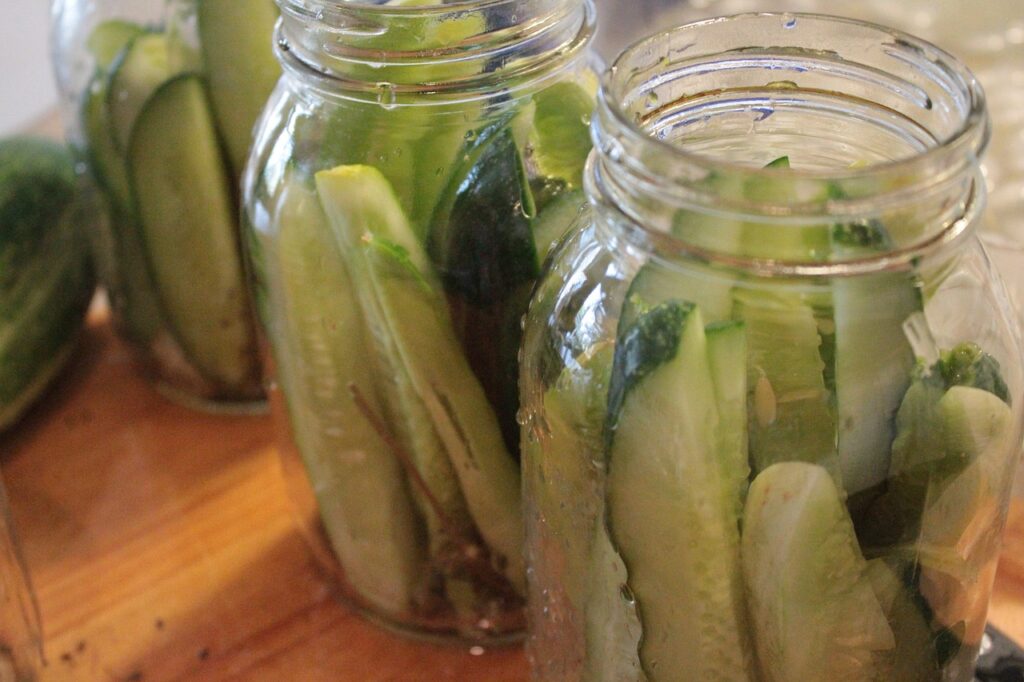
Step 4: Fill the jars.
Using a funnel, fill the jars with the prepared food, leaving the recommended headspace at the top of the jar. Headspace is the space between the top of the food and the rim of the jar. The amount of headspace required will vary depending on the type of food and recipe you are using. For instance, a typical headspace is 1/2 inch to an inch.
Step 5: Remove air bubbles.
Once the jars are filled, use a plastic knife or spatula to remove any air bubbles that may have formed. This is important as air bubbles can cause the food to spoil. Simply insert the knife or spatula into the jar and run it along the sides, tapping the jar gently to release any air.
Step 6: Add lids and bands.
Once the air bubbles have been removed, it’s time to add the lids and bands to the jars. Wipe the rim and top of the jars with a clean towel. Place the flat lid on top of the jar and screw the band on until it is finger tight. Do not over-tighten the band as this can prevent the vacuum from forming properly.
Step 7: Boil the jars.
After the jars are sealed, it’s time to boil them. Place the jars in the canning pot and process them for a specific amount of time. The boiling time will depend on the recipe and the type of food you are canning. For example, home recipes may differ from book recipes, but times for boiling are similar.
Make sure the jars are fully submerged in the water, and that the water level is at least 1 inch above the tops of the jars. The processing time can range from 10-90 minutes depending on the food.
Step 8: Remove the Jars
Using tongs, or a jar lifter, remove the jars from the pot of water and place them on a towel or cooling rack. Let the jars cool down for 12 to 24 hours with the bands on.
Step 9: Check the seals.
After the jars have cooled, check the seals by pressing down on the center of the lid. If it doesn’t move up and down, it is properly sealed. If it does move, you will need to store the jar in the refrigerator and consume it within a few days. Additionally, remove the bands and store without them. Without the bands, a broken seal will be easy to locate.
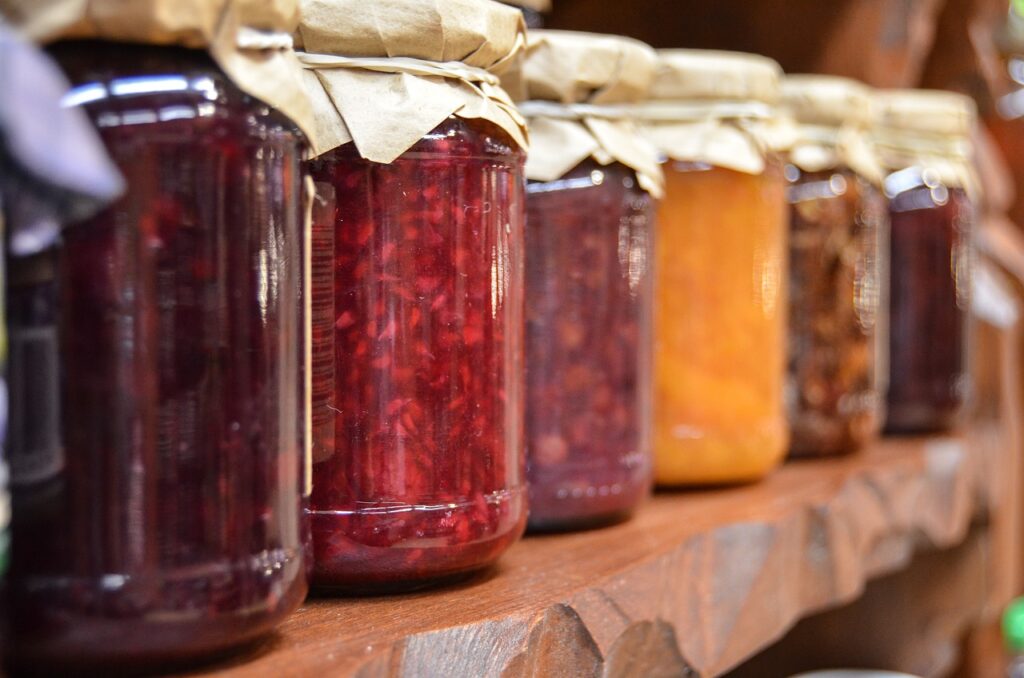
Canning can be a bit time-consuming, but the end result is delicious, shelf-stable food that can be enjoyed for months and even years to come.
Canning recipe books we recommend:
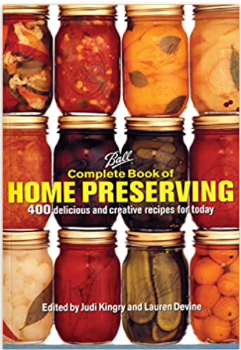
Ball Complete Book of Home Preserving https://amzn.to/3ItFu7j
The Complete Guide to Pressure Canning: Everything You Need to Know to Can Meats, Vegetables, Meals in a Jar, and More https://amzn.to/3YQVDJi
Amish Canning and Preserving Cookbook https://amzn.to/3YtzGAp
Other Articles on Food Preservation
Canning Basics – Getting Started https://boonstead.com/canning-basics-getting-started/
Recent Posts
In general, to harvest your own seeds, you must choose mature, healthy plants, allow seeds to dry out, and remove the seeds when they are completely dry. However, this process will look different for...
A guide on how to store and organize seeds for your garden. Vegetables, flowers, herbs, or anything you are wanting to grow. How to Store Your Seeds Proper storage of garden seeds is essential...